Home › Guides & Blog › Road Trip & RV Essentials Checklist
Road Trip & RV Essentials Checklist: What to Buy Before Your First Trip
What to buy and check before your first trip in a motor home, camper or car — hookup gear, power protection, leveling, propane safety, tires, an emergency kit, and how to find dump stations, campgrounds and rest areas on the way.
Disclosure: This guide contains affiliate links. If you buy through them, ITS-ALL-HERE may earn a commission at no extra cost to you. We don't list prices because they change often; tap a link to see the current price on the seller's site. Learn more.
A first trip in a motor home or travel trailer is exciting, and it goes a lot smoother when the basics are already packed. Most of what new RV owners end up buying in a hurry at a campground store falls into a few groups: hooking up sewer, water and power; getting level and staying put; propane and fire safety; tires; and the same emergency gear every road trip needs. This checklist walks through each one in plain English. It's a shopping guide, not a substitute for your RV's owner's manual, so when the manual and this page disagree, go with the manual.
1. Sewer hookup: the gear nobody forgets twice
Your RV has holding tanks: a black tank for the toilet and a gray tank for sinks and shower. You empty them at a campground sewer hookup or a dump station using a sewer hose. A good kit includes the hose, a clear elbow so you can see when the water runs clear, and fittings that lock onto your RV's outlet. Many owners also carry a spare length of hose and a hose support that keeps it sloped downhill.
Dump-station etiquette: wear disposable gloves, connect the hose before you open any valve, empty the black tank first and then the gray tank so the soapy water rinses the hose, and close the valves before you disconnect. Use the station's rinse water, never your drinking-water hose, and leave the area as clean as you found it for the next RV in line. Only dump at approved stations.
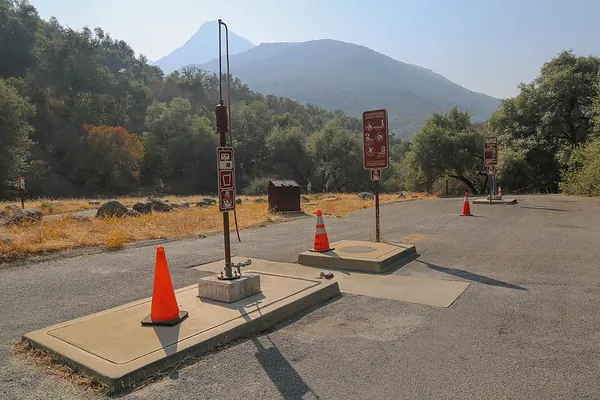
RV Sewer Hose Kits
Sewer hoses, clear elbows and bayonet fittings for emptying your holding tanks at a dump station. Many owners carry a spare length and a sewer hose support.
Check that the fittings match your RV's sewer outlet and that the hose is long enough to reach the inlet.
RV Toilet Paper & Holding Tank Treatment
Quick-dissolving RV toilet paper and tank treatments that help break down waste and control odors. Follow the label dose for your tank size.
RV toilet paper breaks down faster than regular paper, and tank treatment helps with odors. Follow the label dose for your tank size.
Portable RV Waste Tote Tanks
Wheeled tote tanks for emptying tanks when you can't move the RV to a dump station. Use only at approved dump sites.
Handy when you can't move the RV to the dump station; empty it only at an approved site.
2. Fresh water: a separate hose and a pressure regulator
Keep a hose that is labeled for drinking water and use it only for fresh water. Store it capped or with the ends connected so dirt doesn't get inside. Campground water pressure can vary, so many RVers put a pressure regulator between the spigot and the hose to help protect the RV's plumbing. Some regulators include a gauge so you can see the pressure.
Drinking-Water Safe RV Hoses
Hoses labeled for drinking water, kept separate from the hose you use for rinsing tanks. Check the length you need to reach the spigot.
Drinking-water hoses are often white or blue so they're easy to tell apart from the rinse hose.
RV Water Pressure Regulators
Brass inline regulators that sit between the campground spigot and your hose to help protect RV plumbing from high water pressure. Some include a gauge.
Check your owner's manual for the water pressure your RV's plumbing is designed for.
3. Shore power: surge protection and the right adapter
At a campground, you plug into a power pedestal. RVs commonly use either a 30-amp or a 50-amp plug, and pedestals don't always offer the one you need. A plug adapter (often called a "dogbone") lets you connect anyway, but it doesn't add power, so you may need to run fewer appliances at once. A surge protector or electrical management system (EMS) plugs in between the pedestal and your cord and checks the power before it reaches your RV. Match the amp rating to your rig.
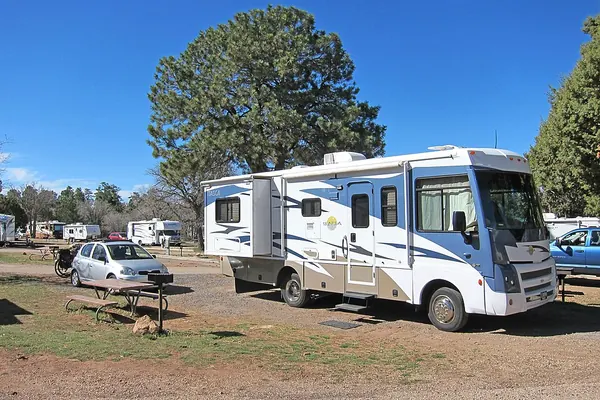
RV Surge Protectors & EMS
Plug-in surge protectors and electrical management systems (EMS) that check campground power before it reaches your RV. Match the amp rating (30 or 50 amp) to your rig.
Pick the 30-amp or 50-amp version to match your RV's power cord.
30-to-50 Amp RV Power Adapters
Dogbone and plug adapters for when the campground pedestal doesn't match your RV's plug. An adapter doesn't increase the power available, so watch your load.
Turn the pedestal breaker off before plugging in or unplugging, then turn it back on.
4. Getting level and staying put
A level RV is more comfortable to sleep in, and many RV refrigerators and slide-outs work best when the coach is close to level. Leveling blocks go under the tires on the low side; check the weight rating against your RV. Wheel chocks keep a trailer or motor home from rolling. Chock the wheels before you unhitch a trailer or start leveling, and remove them before you drive off.
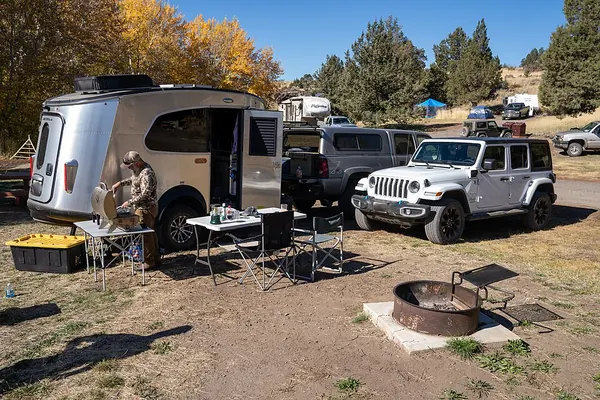
RV Leveling Blocks
Stackable leveling blocks and curved levelers to get your RV level on an uneven site. Check the weight rating against your RV.
A small bubble level on the counter or the RV frame helps you see how many blocks you need.
RV Wheel Chocks
Rubber and X-style wheel chocks to keep a parked trailer or motor home from rolling. Chock before you unhitch or level.
Chock both sides of a tire on a slope.
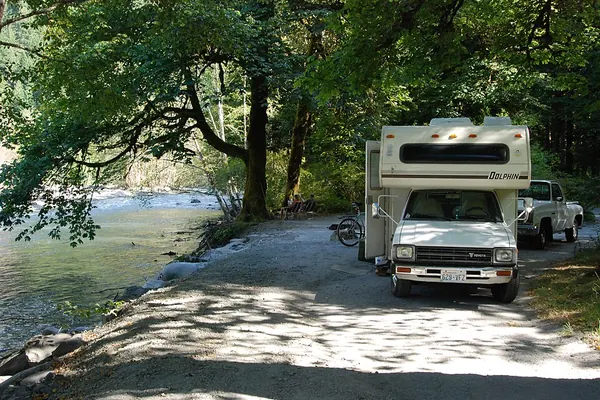
Outdoor RV Mats & Awning Accessories
Outdoor rugs, awning lights, de-flappers and tie-downs for the campsite. Roll the awning in when wind picks up.
Roll the awning in when wind picks up or when you leave the site.
5. Propane, carbon monoxide and fire safety
Most RVs use propane for the stove, furnace, water heater and sometimes the refrigerator. Treat it with respect:
- Have a trained attendant fill propane tanks, and turn off propane appliances and pilot lights before refueling the RV.
- Check hoses and connections for leaks with soapy water and look for bubbles — never with a flame.
- Test the RV's propane (LP) and carbon monoxide alarms before every trip, and replace them by the date the maker lists. Keep a working smoke alarm and a fire extinguisher where you can reach them.
- If you smell propane, shut off the tank, put out any flames, get everyone out, and don't flip switches until the smell clears. Call for help if it doesn't.
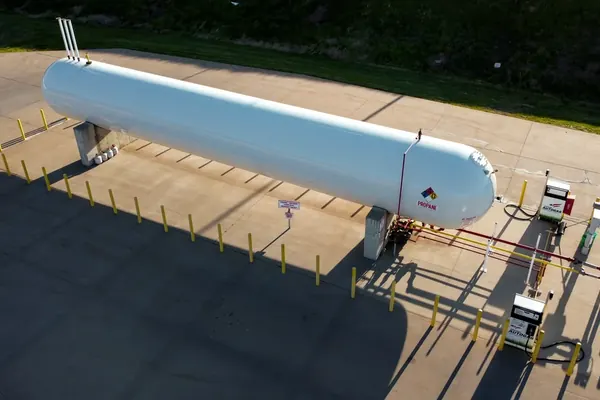
RV Propane Tanks, Gauges & Hoses
Propane cylinders, tank gauges and extension hoses. Have a trained attendant fill tanks, and check connections for leaks with soapy water, never a flame.
A tank gauge helps you see how much propane is left before a cold night.
RV Propane & Carbon Monoxide Detectors
Replacement LP gas and carbon monoxide alarms made for RVs. Test them before each trip and replace them by the date the maker lists.
Check the alarm's date code; RV alarms don't last forever.
If you bring a portable generator for camping without hookups, run it outside, away from doors, windows and vents, and follow campground quiet hours and generator rules.
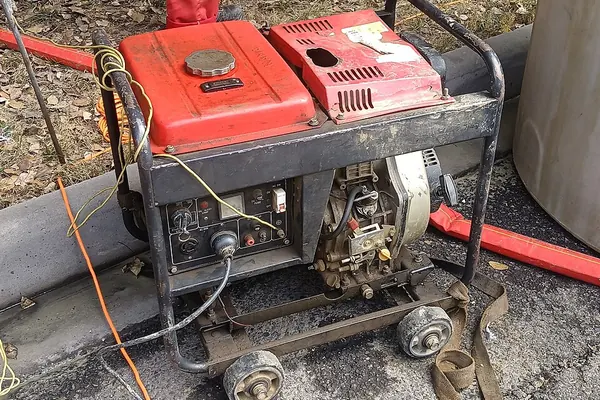
Portable Generators for RV Camping
Inverter and portable generators for dry camping. Check campground quiet hours and rules, never run one inside or near open windows, and keep CO detectors working.
Check the campground's generator rules and the generator's wattage against what you plan to run.
6. Weight, height and tires
RVs are heavy, and tires and brakes are built for a certain load. Find your RV's weight ratings on the manufacturer's label (and your tow vehicle's and hitch's ratings if you pull a trailer) and stay within them. If you're not sure what your loaded rig weighs, many truck stops have public scales. Know your RV's height too, and watch for low-clearance, weight-limit and road-restriction signs.
Check tire pressure when the tires are cold, before you drive, using the pressures on your RV's tire label. Look at the tire date code as well; older tires can fail even when the tread looks fine. A tire pressure monitoring system (TPMS) shows pressure and temperature on a screen while you drive.
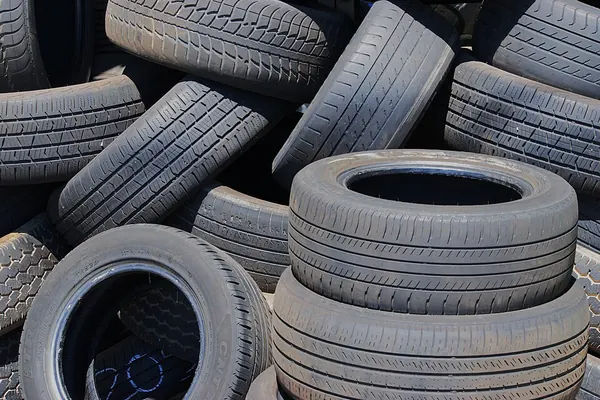
RV Tire Pressure Monitors (TPMS)
Sensor systems that show tire pressure and temperature on a dash screen while you drive. Check fit for your number of wheels.
Check that the system covers the number of wheels on your RV, and on a towed car or trailer if you have one.
Portable Tire Inflators
12-volt and cordless air compressors for topping up tires on the road. Check pressure against the sticker in your door jamb.
A portable inflator lets you top up a low tire at the campsite.
7. Seeing behind you and finding your way
Backing a motor home or trailer into a campsite is easier with a backup camera, but a spotter outside who you can hear or see is still the safest way to do it. Agree on hand signals before you start. RV GPS units let you enter your RV's size and weight so routes can avoid low bridges and restricted roads; still obey posted signs, since maps can be out of date. A paper road atlas is a good backup where there's no cell signal.
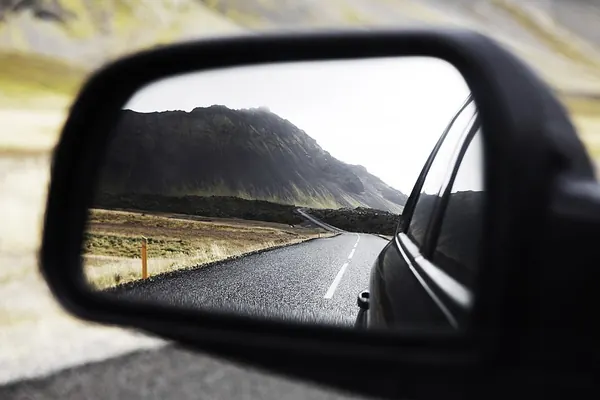
RV Backup Cameras
Wired and wireless backup cameras with a dash monitor for seeing behind a motor home or trailer. A spotter outside is still the safest way to back in.
Wireless cameras are easier to install; wired ones can give a steadier picture.
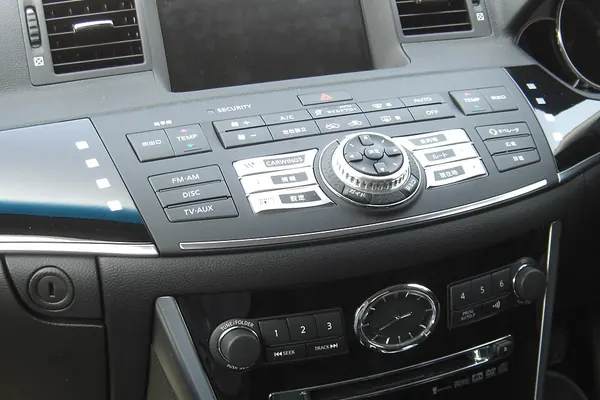
RV & Truck GPS Navigators
GPS units that let you enter your RV's height, length and weight so routes can avoid low bridges and restricted roads. Always obey posted signs.
Enter your RV's height, length and weight before you start a route.
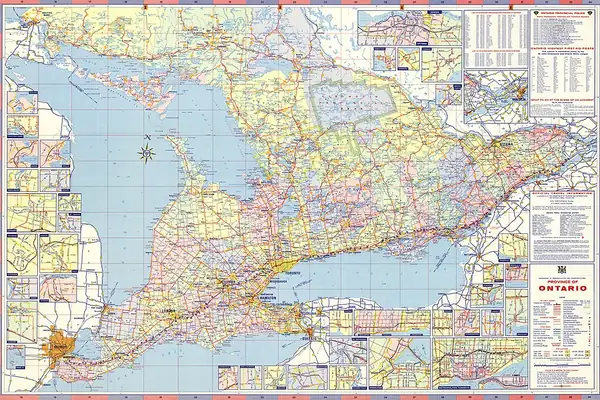
Road Atlases & Paper Maps
A printed road atlas works when there's no cell signal. Many show rest areas and campgrounds too.
Many atlases mark rest areas and campgrounds, which helps with planning stops.
8. Road-trip emergency gear for any vehicle
Whether you're in a motor home, a pickup or a sedan, the same small kit can turn a breakdown from a crisis into an inconvenience: warning triangles or flares, a jump starter or jumper cables, a flashlight, a first-aid kit, water, and a phone charger. In winter, add a blanket, an ice scraper and some traction aids. Pull as far off the road as you safely can, turn on your hazard lights, and call for help if you need it.
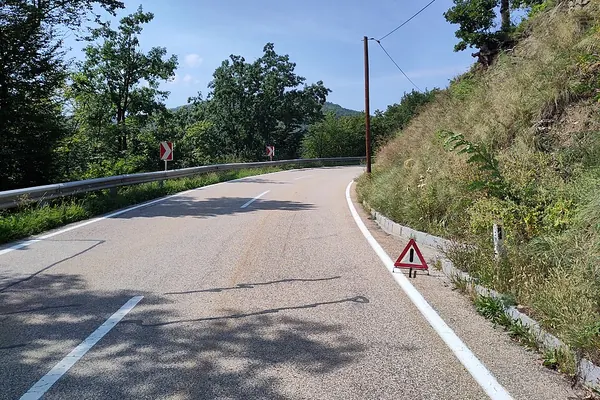
Roadside Emergency Kits
Kits with warning triangles, jumper cables, a flashlight and basic tools for breakdowns. Check what's inside before you buy.
Look at the contents list; some kits include jumper cables and a tow strap, some don't.
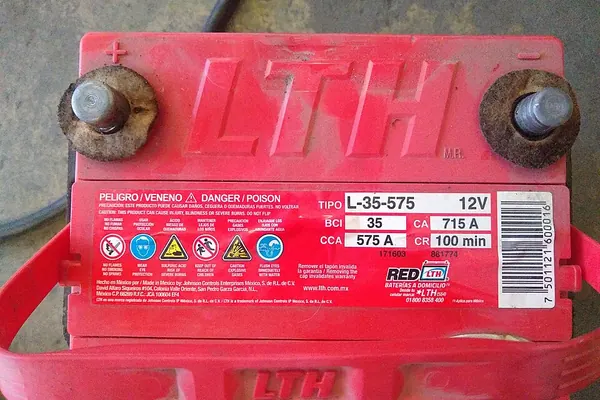
Portable Jump Starters
Battery packs that can jump-start a car or truck without a second vehicle. Keep it charged and check the engine size it's rated for.
Keep it charged, and check that it's rated for your engine size.
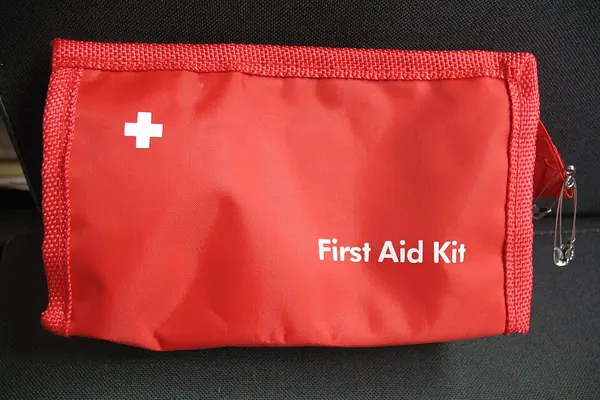
Car First-Aid Kits
Compact first-aid kits for the glove box or trunk. Restock anything you use and check expiration dates once a year.
Restock anything you use and check expiration dates once a year.
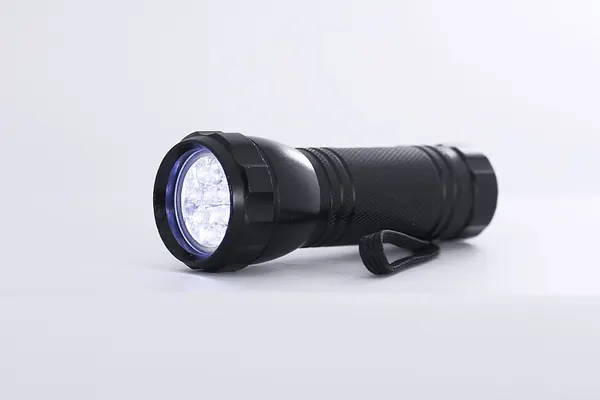
LED Flashlights & Roadside Lights
Bright flashlights, headlamps and roadside flares or LED beacons for nighttime stops.
A headlamp leaves both hands free for a roadside fix.
9. Comfort and convenience on the road
Long drives are easier with a phone mount for hands-free navigation (set your route before you start), a car charger, a cooler for food and drinks, and a cushion for your back. Take a break at a rest area every couple of hours, and swap drivers if you can.
Car Phone Mounts
Vent, dash and cup-holder phone mounts for hands-free navigation. Set your route before you start driving.
Check that the mount fits your phone size and your vehicle's vents or dash.
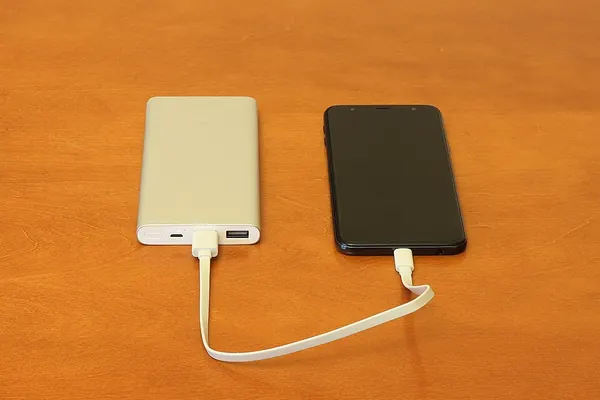
USB Car Chargers & Cables
12-volt USB and USB-C car chargers and cables to keep phones and GPS units charged.
Match the charger to your phone's cable (USB-C or Lightning).

Coolers & 12V Car Fridges
Hard and soft coolers and 12-volt plug-in fridges for road-trip food and drinks.
A 12-volt fridge needs a power source; a cooler needs ice.
Finding dump stations, campgrounds and stops on the way
Our 🚐 Road Travel & RV page has two free locators. Type a town or ZIP, or leave it blank for "near me," to open Google Maps searches for RV dump stations, RV parks and campgrounds, RV repair, propane refills, RV-friendly fuel, RV storage, RV dealers and free overnight parking — plus rest areas, gas stations, EV charging, towing, auto repair, motels, truck stops and scenic overlooks along your route. Always call ahead to confirm hours, fees and whether a site fits your RV.
A quick first-trip checklist
- Sewer hose kit, gloves, RV toilet paper and tank treatment.
- Drinking-water hose and a water pressure regulator.
- Surge protector or EMS, and a 30/50-amp adapter if your RV may need one.
- Leveling blocks and wheel chocks.
- Test propane, CO and smoke alarms; have a fire extinguisher; check propane connections with soapy water.
- Know your RV's height and weight ratings; check tire pressure cold and look at tire dates.
- Backup camera or a spotter, plus GPS and a paper atlas.
- Roadside emergency kit, jump starter, first-aid kit and flashlight.
- Read the owner's manual sections on hookups, propane and slide-outs before you leave.
The bottom line
You don't need every gadget for a first RV trip, but you do need a way to empty the tanks, clean water, protected power, a level and chocked rig, working propane and CO alarms, good tires, and a basic emergency kit. Pack those, practice hooking up in the driveway once, and the rest of the trip is about the road. Browse all of it in our 🚐 Road Travel & RV section.
More from Guides & Blog
- Winter Horse Care Checklist: Barn & Pasture Supplies to Buy Before the Cold
- Snow Blower Buying Guide: Single-Stage vs. Two-Stage, Gas vs. Battery
- Used Car & Pickup Truck Buying Checklist: What to Check Before You Buy
- Pet Care Essentials: A Buying Guide for Dog and Cat Owners
- Kitchen Essentials: Countertop Appliances and Tools Worth Owning
- Online Privacy Basics: VPNs, Password Managers and a Safer Smart Home
- How to Choose a Racing or Motorcycle Helmet
- Home Workout Essentials: How to Build a Simple Home Gym
- Carry-On & Flight Day Essentials: Pack Smarter for Any Trip